
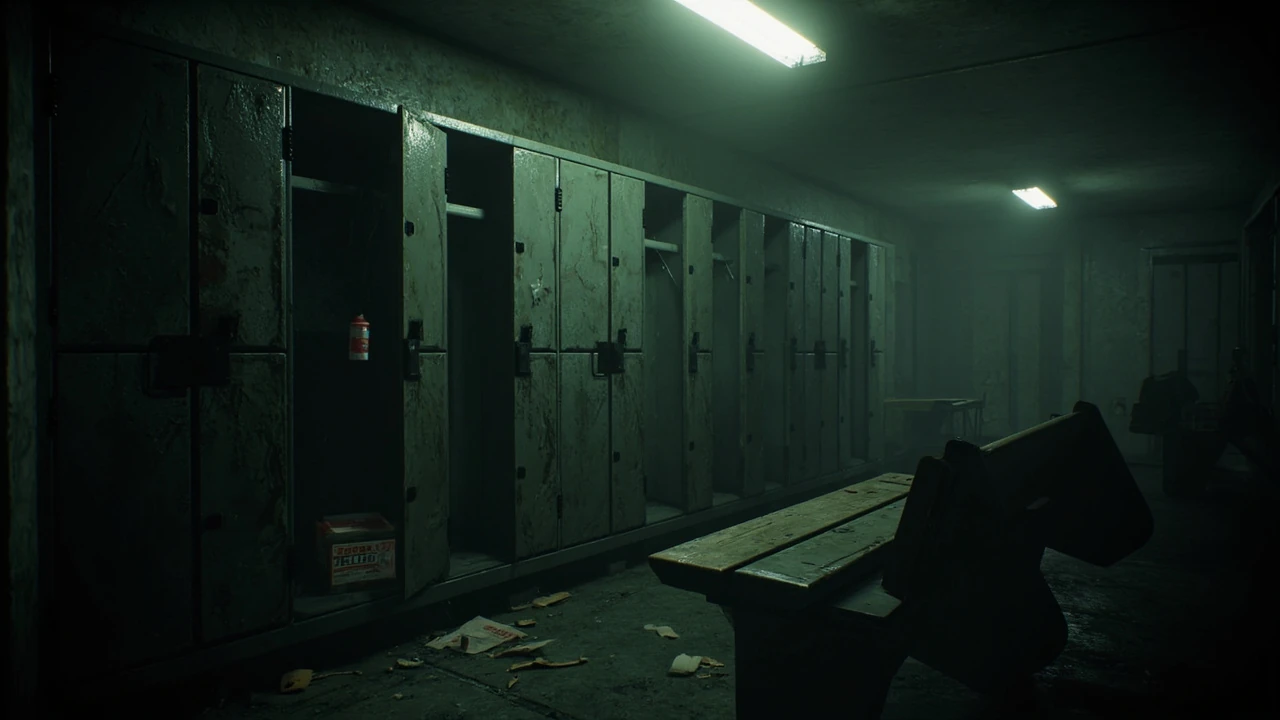
Resident Evil 2 locker codes: every combination and where to use it
A wrong turn in the Raccoon Police Department is rarely cheap. Ammo is rationed, healing items are scarce, and the difference between a clean run and a frustrating restart often comes down to whether you open the right container at the right moment. The combination locks scattered through the RPD block, the west storage room, the interrogation hallway, and the chief’s office are some of the most important interactions in the entire game, which is why most players end up searching for Resident Evil 2 locker codes at least once during a first playthrough.
This page consolidates every functional locker, portable safe, and dial combination for both the 1998 original and the 2019 remake. It explains what each container holds, where to find the hint that reveals the code, and how the systems differ between versions. The rule of thumb is simple: open the right container at the right time, and the rest of the RPD becomes much more forgiving.
What counts as a “locker code” in Resident Evil 2
The phrase “locker code” is used loosely by the community. In practice, the game contains three separate locking systems that all look similar on a controller:
- Stationary lockers: the wall-mounted lockers found in the RPD changing rooms and the STARS office. They are fixed in place and can only be opened once.
- Portable safes: the small black boxes that sit on desks and shelves. They use the same lock mechanic, but the box is a 3D object you can rotate and inspect.
- Dial safes: the larger combination safes found in the chief’s office and a few side rooms. These use a circular dial instead of push buttons, but the puzzle logic is similar.
All three systems use three-digit numeric combinations. None of the codes are randomized between playthroughs in the main campaign, so a recorded combination will always work on the same slot in the same scenario.
Quick reference: every Resident Evil 2 locker code at a glance
The table below is the master reference for the 2019 remake. It covers both the Leon and Claire routes and notes the equivalent container in the 1998 original where the design is shared. Combination letters and room names follow the in-game labels used in the remake’s map screen.
| Container | Code | Location | Reward | Version |
|---|---|---|---|---|
| West office safe (portable) | 6 left, 2 right, 11 left | West office, main floor | Detonator (no battery) | Remake (1998 equivalent uses push-button safe with code 2236) |
| West storage room lockers (3-digit) | 6, 2, 11 | West storage room, west corridor | First aid spray, gunpowder, hip pouch (Leon) or first aid spray, gunpowder, gun parts (Claire) | Remake |
| STARS office wall safe (dial) | 9 right, 3 left, 7 right | STARS office, second floor | Magazine (Leon: 9 left, 3 right, 7 left) | Remake (1998 equivalent uses code 1248) |
| Interrogation room wall locker | 6, 6, 4 | Interrogation room, east wing | Spare key / 9mm ammo | Remake |
| Waiting room portable safe | 6, 2, 11 | Waiting room, first floor east | Hip pouch upgrade (Leon) or 9mm magazine parts (Claire) | Remake (1998 uses code 1198 on a push-button safe) |
| Art room wall locker | 2, 1, 3 | Art room, second floor west | Red book (downward strike + empty bottle = M4A1 or SLS 60 parts) | Remake |
| Shower room wall locker | 2, 8, 4 | Shower room, second floor | 9mm ammo and a spare key | Remake |
| Clock tower portable safe | 6, 2, 11 | Clock tower, after Mr. X chases Leon | Detonator (alternate path item) | Remake (Leon B only) |
| Main hall safe (dial) | 9 right, 3 left, 7 right | Main hall, behind reception | First aid spray | Remake (1998 uses code 1198) |
| East wing 1F wall locker | 3, 1, 7 | East wing first-floor corridor | 9mm ammo | Remake |
The numbers 6, 2, 11 are reused for almost every push-button safe in the remake because the in-game hint file points to the same three numbers. The dial safes use a separate pattern based on a clock face, and the locker codes for the art room, shower room, and east wing are learned from documents found earlier in the run rather than from a single memo.
How the 2026 remake changed the combination system
The 1998 original and the 2019 remake handle combination locks differently, and this is the most common source of confusion when a guide refers to “Resident Evil 2 locker codes.”
In the original 1998 release, the locks are presented as push-button panels. Each code is a four-digit number such as 2236 for the portable safe in the west office, and the player types the digits directly. The codes are stored in a small selection of memo files scattered through the RPD, and most players end up with the correct code on a second visit because the relevant memo is found near the lock.
The 2019 remake rebuilt the puzzle layer around two visual systems. The push-button panels on the wall lockers and portable safes now have three numbered wheels, and the correct answer is a sequence of left and right rotations, written as something like “6 left, 2 right, 11 left.” The dial safes use a clock face with a rotating arrow. Both systems display the solution next to the in-game document that hints at the code, so brute-forcing the puzzle is rarely necessary.
This visual redesign is also why the remake has more lockers than the original. Capcom added wall lockers in the shower room, art room, and east wing to make use of the new animation, and the rewards inside were rebalanced to account for the new puzzle layer.
Where to find the hint files for every code
Every locker in the remake is gated by a written hint somewhere in the RPD. The hints are not optional flavor; they are the puzzle. A quick run-through of the most important documents:
- Leon’s memo about the west office safe: found on the west office desk, gives the rotation pattern 6 left, 2 right, 11 left.
- Claire’s STARS office memo: pinned to the corkboard in the STARS office, gives the dial pattern 9 right, 3 left, 7 right.
- Art room note: tucked into the paint easel, gives the three digits 2, 1, 3 for the wall locker above the red book.
- Shower room note: written on the mirror in dry-erase marker, gives the digits 2, 8, 4.
- East wing staff notice: posted on the corkboard near the break room, gives the digits 3, 1, 7 for the wall locker across the corridor.
The 1998 original uses a smaller set of memo files. The four-digit codes for the push-button safes are printed on scraps of paper found one room away from each safe, and the dial safes use the same document the remake uses, but with four digits instead of a rotation pattern.
Step-by-step: solving the west storage room lockers first
The west storage room is the first set of lockers most players encounter, and it sets the tone for the rest of the run. The codes are easy to miss because the room is dark, and Mr. X tends to arrive just as you start fiddling with the locks.
- Enter the west storage room from the west corridor. Loot the gunpowder on the shelves before approaching the lockers.
- Read the “Staff Notice” memo on the corkboard to learn the rotation pattern 6 left, 2 right, 11 left.
- Open the first locker on the left for a first aid spray. This is a high-priority pickup in either scenario.
- Open the second locker for gunpowder. Combine it with regular gunpowder to make handgun ammo at a bench later.
- Open the third locker for the hip pouch (Leon) or gun parts (Claire). The hip pouch adds one inventory slot, which is the most valuable upgrade in the early game.
- If Mr. X is in the corridor, retreat through the connecting door and re-enter the main hall. The room is too tight to fight him near the lockers.
The west storage room is also the first place where the 6, 2, 11 pattern is reused, so the same code will open the waiting room safe and the clock tower safe later in the run. Memorizing the pattern saves a lot of backtracking.
Step-by-step: opening the STARS office wall safe
The STARS office is on the second floor of the RPD, past the library and the clock tower. The wall safe in the remake is a circular dial that must be turned in a specific sequence, and the reward depends on which character is playing.
- Reach the STARS office by using the STARS office key, which is found in the waiting room after solving the portable safe.
- Read the “STARS Office Memo” pinned to the corkboard. The memo gives the dial pattern 9 right, 3 left, 7 right.
- Approach the wall safe and rotate the dial exactly as written. The dial is sensitive to direction, so count each click carefully.
- Collect the magazine inside. For Leon this is the JMB H.P. pistol upgrade; for Claire it is the SLS 60 revolver upgrade.
- Leave the office before Mr. X reaches the second-floor corridor. The door to the main hall locks behind you, so do not get caught inside.
The wall safe is a soft checkpoint for a successful first run. If you have the magazine, the hip pouch, and a healthy stock of handgun ammo by the time you reach the STARS office, the rest of the RPD is manageable on normal difficulty.
Comparison: locker contents by character
The contents of the lockers differ between Leon and Claire. The table below highlights the most important differences so players do not waste time looking for an item that does not exist in their scenario.
| Locker | Leon’s reward | Claire’s reward |
|---|---|---|
| West storage room 3rd locker | Hip pouch (+1 inventory slot) | Gun parts (Lightning Hawk frame) |
| Waiting room portable safe | Hip pouch (second upgrade) | 9mm magazine parts (SLS 60 capacity) |
| STARS office wall safe | JMB H.P. pistol parts | SLS 60 revolver parts |
| Art room wall locker | M4A1 parts (assault rifle) | JMB H.P. parts (handgun) |
| Shower room wall locker | 9mm ammo and spare key | 9mm ammo and spare key |
| Clock tower portable safe | Detonator (Leon B only) | Not present in Claire B |
The hip pouch is the single most valuable pickup in Leon’s run, and Claire’s equivalent is the Lightning Hawk frame, which converts her starting revolver into a much more powerful sidearm. Both are worth the backtracking required to open the relevant locker.
Differences between Leon A, Leon B, Claire A, and Claire B
The Zapping System described in the Resident Evil 2 entry on Wikipedia means the RPD is not the same building twice. The four scenarios are labeled A and B for each character, and the contents of the lockers shift based on which scenario is being played.
- Leon A and Claire A: the standard first run. Most lockers are open and most documents are present. Mr. X is the main threat.
- Leon B and Claire B: the second run. Some lockers are already open because the A scenario looted them, and Mr. X is replaced by the mutated William Birkin encounters.
- Leon B only: the clock tower portable safe appears with a detonator inside, used to blow open an alternate exit from the RPD.
- Claire B only: the waiting room safe contains a different combination because the A scenario’s memo is missing. The code is found in a different document near the library.
For players chasing a 100 percent run, this means at least two passes through the RPD to open every locker. The B scenarios are also where most of the “missable” lockers live, so it is worth checking the in-game map screen after each save to see which containers are still closed.
Common mistakes when solving the combination locks
Even with a full code list, players make the same handful of mistakes. Avoiding these will save the most time:
- Reading the rotation pattern as a number. “6 left, 2 right, 11 left” is not 6211. It is a sequence of three separate dial movements. Typing 6211 on the wall panel will not work.
- Mixing up Leon and Claire codes. Some of the dial safes use opposite patterns for each character because the in-game documents are written from different perspectives. Read the memo in the current scenario, not a guide written for the other route.
- Forgetting the B scenario changes. The clock tower safe is Leon B only. Claire B does not have it, and the waiting room safe uses a different combination in Claire B because the A scenario’s memo is missing.
- Skipping the in-game document. The remake’s puzzles are gated by documents that are physically near the locks. Skipping the document and looking up a code online works, but reading the memo is faster.
- Fighting Mr. X near the lockers. The west storage room and STARS office are both choke points. Loot the lockers, then retreat to a safe room. Do not try to solve a combination puzzle while Mr. X is in the corridor.
How the lockers fit into the broader RPD route
The combination locks are not isolated puzzles. They are part of a resource curve that runs through the entire RPD section, and the order in which they are opened has a real impact on the difficulty of the second half of the chapter.
- Start with the west storage room lockers to pick up the hip pouch or gun parts, plus a first aid spray.
- Open the waiting room portable safe for the second inventory upgrade or the 9mm magazine parts.
- Use the STARS office key to reach the second floor and open the wall safe for the weapon magazine.
- Detour through the art room and shower room to grab the red book, the spare key, and the 9mm ammo from the wall lockers.
- Save at the safe room typewriter before the clock tower sequence. If playing Leon B, open the clock tower safe for the detonator.
This route collects every major reward in the RPD without backtracking through Mr. X patrols more than once. The east wing wall locker is the only optional stop, and it can be skipped on a first run because its 9mm ammo reward is not critical.
What the lockers look like in the 1998 original
For players who started with the remake and want to revisit the 1998 original, the lockers are worth understanding because the design intent is very similar. The push-button panels on the original’s lockers are a four-digit number pad, and the codes are written in the same memo files used in the remake. The portable safe in the west office uses 2236, the STARS office wall safe uses 1248, and the main hall safe uses 1198.
The 1998 original also has a small number of lockers that the remake removed. The most notable is the locker in the S.T.A.R.S. armory, which was replaced by a keycard door in the remake. If a guide written for the original mentions a locker that does not exist in the remake, it is almost certainly the S.T.A.R.S. armory.
For a deeper look at how the original’s puzzles and the remake’s puzzles compare, the Resident Evil 2 entry on Wikipedia covers the development history and the design changes between the two releases. It is also a useful reference for the plot context of the RPD, including why the lockers contain the items they do.
Frequently asked questions
Are the Resident Evil 2 locker codes the same in every playthrough?
Yes. The combination codes in the main campaign are fixed. They do not change between runs, and they do not change between the Leon and Claire scenarios for the same container. The only variation is between the A and B scenarios, where some lockers are already open or contain different items because the A scenario looted them.
Do the codes work the same way in the 1998 original and the 2026 remake?
No. The original uses a four-digit push-button panel, while the remake uses either a three-wheel rotation pattern or a circular dial. The numerical answers are also different in some cases. For example, the west office safe uses 2236 in the original and 6 left, 2 right, 11 left in the remake, even though both lead to the same detonator.
What happens if I enter the wrong combination?
The combination lock resets, and you can try again. There is no penalty for entering the wrong code, and there is no lockout timer. You can also leave the room and come back, and the code you read from the document is still valid.
Can I open the lockers in hardcore mode?
Yes. The codes and contents are the same in hardcore mode. The only differences are the increased enemy damage and the limited save system, which makes resource management more important. Opening the lockers is even more valuable in hardcore because the rewards include healing items and inventory upgrades.
Where is the red book in the remake?
The red book is in the art room on the second floor, inside the wall locker with the 2, 1, 3 combination. It is used to combine with an empty bottle at a workbench to make enhanced handgun ammo, or with gunpowder to make the M4A1 or SLS 60 parts depending on the character.
What is the best order to open the lockers in?
The most efficient order is west storage room first, then waiting room safe, then STARS office wall safe, then art room and shower room wall lockers, then the clock tower safe if playing Leon B. This order collects the hip pouch and the weapon magazine before the Mr. X chase through the second floor.
Do I need to open every locker for a 100 percent run?
Yes. The 100 percent run counter tracks locker openings, document pickups, and enemy kills. Missing a single locker will block the platinum trophy on the remake. The easiest way to track progress is to compare the in-game map screen with a checklist after each save.
Are there any lockers I should skip on a first run?
The east wing 1F wall locker can be skipped on a first run because its 9mm ammo reward is small. The clock tower safe is also skippable on Leon A because it does not appear until Leon B. All other lockers are worth opening because their rewards are either inventory upgrades, weapon upgrades, or healing items that are otherwise hard to find.
Does the Hunk and To-fu mode have different locker codes?
No. The fourth survivor and tofu survivor modes use the same RPD map as the main campaign, but the lockers are not interactive. The combination puzzles only exist in the main scenarios and in the B-side runs.



Leave a Reply